

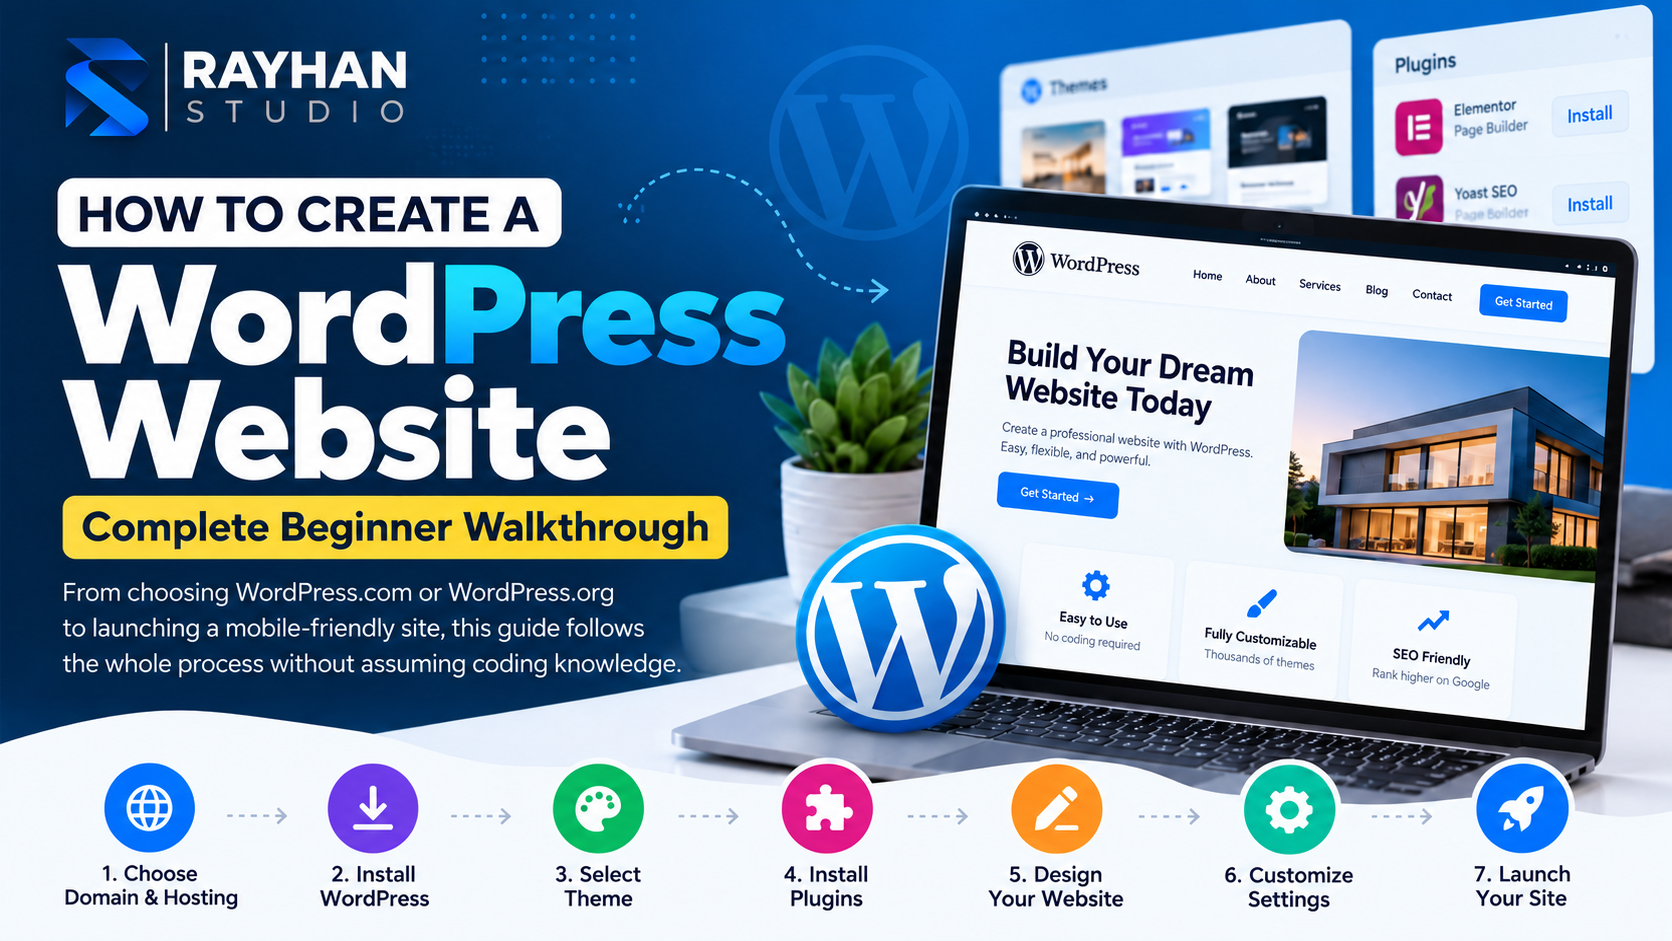
Step-by-Step Guide to Creating a WordPress Website
-
Step 1: Choose WordPress.com or WordPress.org
Before creating your website, choose the right WordPress platform. WordPress.com and WordPress.org both allow you to build websites, but they work differently.
WordPress.com: A hosted platform that manages your website hosting and much of the technical maintenance. It offers a free plan with a WordPress.com subdomain, although some features require a paid plan.
WordPress.org: Free, open-source WordPress software that you can install on your own web hosting. It provides greater control over themes, plugins, and customization.
If you want a simple website without managing hosting, consider WordPress.com. If you want more control over your website, consider self-hosted WordPress.org.
-
Step 2: Choose a Domain Name and Web Hosting
Your domain name is your website's address, such as example.com. Web hosting stores your website files and makes them accessible on the internet.
Choose a short, memorable domain name that matches your website's purpose or brand. Check its availability through a trusted domain registrar.
If you use self-hosted WordPress, choose a hosting provider that supports WordPress, HTTPS, backups, and reliable performance.
Compare hosting prices, renewal costs, storage, support, and available features before purchasing a hosting plan.
WordPress.com includes hosting and offers a free subdomain, so separate hosting is not required when using that service.
-
Step 3: Install WordPress
After purchasing hosting for a self-hosted website, log in to your hosting control panel. Many hosting providers offer a one-click WordPress installation tool.
Locate the WordPress installer, select your domain, and follow the instructions to complete the installation.
Create a secure administrator username and password. Use HTTPS if your hosting provider has configured an SSL certificate.
Once installation is complete, you can usually access your WordPress Dashboard at:
https://example.com/wp-admin/If you choose WordPress.com instead, create an account and follow its website creation process. Separate software installation is not necessary.
-
Step 4: Install and Customize a WordPress Theme
A WordPress theme controls your website's appearance, including its layout, colors, typography, and design elements.
In a self-hosted WordPress Dashboard, navigate to Appearance > Themes and click Add New Theme.
Search for a responsive theme suitable for your website, then click Install and Activate.
Depending on your theme, use the Site Editor or Customizer to adjust your logo, colors, navigation, header, and footer.
Preview your website on desktop and mobile devices. Choose a clean, lightweight design that makes your content easy to read.
-
Step 5: Install Essential WordPress Plugins
WordPress plugins add functionality to your website without requiring you to build every feature from scratch.
On a self-hosted WordPress website, navigate to Plugins > Add New Plugin from your WordPress Dashboard.
Search for a plugin, check its compatibility and maintenance history, then click Install Now and Activate.
Depending on your website's needs, consider plugins for search engine optimization, contact forms, backups, security, and caching.
Install only the plugins you actually need. Keep them updated and remove unused plugins to reduce maintenance and security risks.
Note that plugin installation on WordPress.com depends on your plan. Check your plan's available features before choosing plugins.
-
Step 6: Create Important WordPress Pages
After installing WordPress, create the essential pages your website needs.
- Log in to your WordPress Dashboard.
- Go to Pages > Add New.
- Enter a title for your page.
- Add content using the WordPress editor.
- Click Publish to make the page live.
Important pages to consider creating:
- Home - Introduce your website.
- About Us - Explain your website's purpose.
- Contact - Help visitors contact you.
- Privacy Policy - Explain data collection.
- Blog - Publish tutorials and articles.
-
Step 7: Configure WordPress Settings
Configure your website settings before publishing your content.
- Open your WordPress Dashboard.
- Go to Settings > General.
- Set your Site Title and Tagline.
- Choose the correct timezone and language.
- Save your changes.
- Go to Settings > Permalinks.
- Select Post name for readable URLs.
- Click Save Changes.
For example, a readable URL can look like: example.com/how-to-create-a-website/
Note: Some settings may vary depending on your WordPress hosting plan.
-
Step 8: Optimize Your WordPress Website for SEO
Search Engine Optimization helps search engines understand your content and can improve your website's visibility.
- Write unique titles for important pages.
- Create helpful meta descriptions.
- Use descriptive H1, H2 and H3 headings.
- Add relevant internal links.
- Use descriptive image alt text.
- Make your website mobile-friendly.
- Check that important pages can be indexed.
- Connect Google Search Console.
- Submit your XML sitemap if available.
Focus on useful, original content that answers real questions from your visitors.
-
Step 9: Improve Website Speed and Security
A fast and secure website provides a better experience for visitors.
- Use a reliable WordPress hosting provider.
- Enable HTTPS with a valid SSL certificate.
- Compress large images before uploading.
- Use a lightweight WordPress theme.
- Remove unnecessary plugins.
- Keep WordPress, themes and plugins updated.
- Use strong passwords and two-factor login.
- Set up regular website backups.
- Test performance using PageSpeed Insights.
Some hosting providers offer built-in caching, security and backup features.
-
Step 10: Test and Launch Your WordPress Website
Before sharing your website with visitors, check that everything works correctly.
- Open your website on desktop and mobile.
- Test the navigation menu and buttons.
- Check all important internal links.
- Make sure images load correctly.
- Test contact forms.
- Check for broken links and 404 errors.
- Confirm HTTPS works correctly.
- Publish your final pages and articles.
- Check your search engine visibility settings.
- Share your website with your audience.
Congratulations! Your WordPress website is ready to share. Keep publishing helpful content and maintaining your website regularly.
-
Step 11: Maintain and Update Your WordPress Website
After launching your WordPress website, regular maintenance is important to keep it secure, functional, and up to date.
Log in to your WordPress Dashboard regularly to check for available updates to WordPress, themes, and installed plugins.
Before making major changes, create a complete backup of your website files and database.
Follow these website maintenance tips:
- Update WordPress to a supported version.
- Keep themes and plugins updated.
- Remove unused plugins and themes.
- Back up your website regularly.
- Check for broken links and errors.
- Monitor website security.
- Test your website after major updates.
- Review and update outdated content.
Regular maintenance helps reduce security risks, prevents avoidable technical problems, and improves the visitor experience.
-
Step 12: Promote Your WordPress Website and Grow Traffic
Once your WordPress website is ready, focus on attracting visitors by publishing helpful content and promoting your website through relevant marketing channels.
Start with keyword research to understand what your target audience searches for on Google.
Create useful articles that answer real questions and provide step-by-step solutions. Optimize each article with a descriptive title, relevant headings, and internal links.
Use these methods to grow website traffic:
- Publish original, helpful blog articles.
- Research relevant long-tail keywords.
- Optimize important pages for SEO.
- Connect Google Search Console.
- Submit and maintain your XML sitemap.
- Share articles on relevant social media.
- Build useful internal links.
- Monitor search clicks and impressions.
- Improve existing articles regularly.
- Track website traffic and user experience.
Website traffic usually takes time to grow. Focus on quality content, consistent improvements, and helping your visitors.
If you plan to earn through affiliate marketing or advertising, follow the applicable program policies and clearly disclose affiliate relationships.
Before you finish: important checks
- You know whether your website is WordPress.com hosted or self-hosted; this affects domain and plugin instructions.
- Your homepage and Blog page are two different destinations; a post is published only once.
- Test Home, Blog, Contact and one article link on mobile before launch.
Common problems and fixes
- Can't find a setting? WordPress.com and self-hosted dashboard labels differ, and block themes may use Design → Editor.
- Page title appears twice? Remove the duplicated heading in the post body, not the actual post title.
- Site opens only for you? Verify privacy/launch status and try a logged-out browser.
Frequently asked questions
Can I start for free?
Yes, a WordPress.com subdomain and Free Plan can be used for practice, with plan limits.
Can a free WordPress.com site use my custom domain as primary?
No. A paid plan is required for a custom primary domain.
Does WordPress require coding?
No, many pages can be built with blocks.
WordPress, hosting and AI interfaces change. Check the service's current documentation before changing billing, domain DNS, security or important site settings. Rayhan Studio publishes educational help, not guaranteed results.